Introduction
Many developers don’t use Jekyll for client projects as non-developers would traditionally have to learn HTML, Markdown and Liquid to update content. In this tutorial, we give non-developers an easy way to update Jekyll sites with CloudCannon.
What is CloudCannon?
CloudCannon is cloud content management system and hosting provider for Jekyll websites. A developer uploads a Jekyll site in the browser or syncs with GitHub, Bitbucket or Dropbox. CloudCannon builds the site, hosts it and provides an interface for non-technical people to update content.
Setup
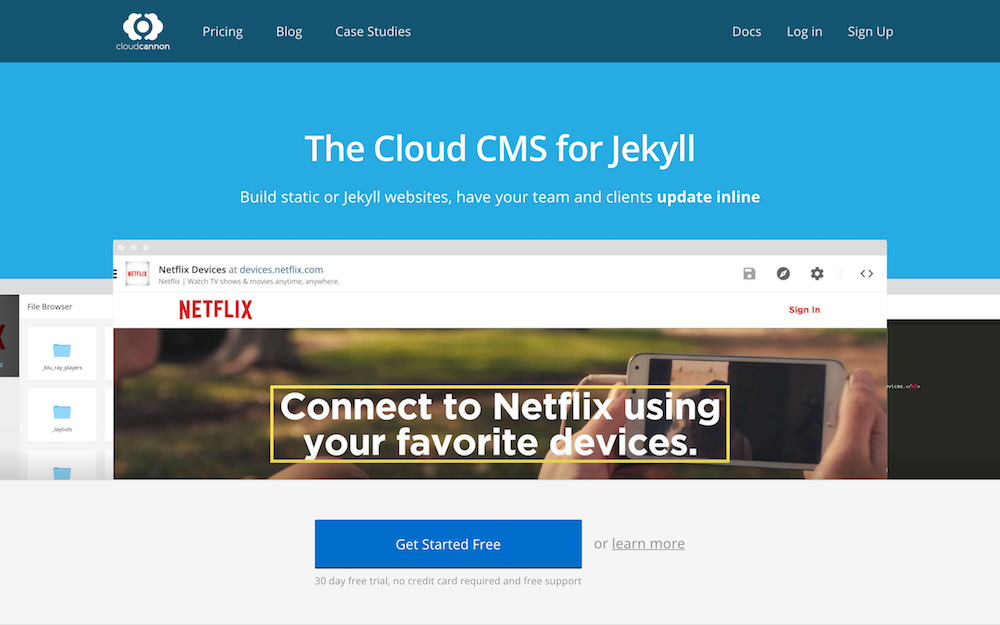
To begin, we need to create a CloudCannon account and set up our first site. Head over to CloudCannon and click the Get Started Free button:
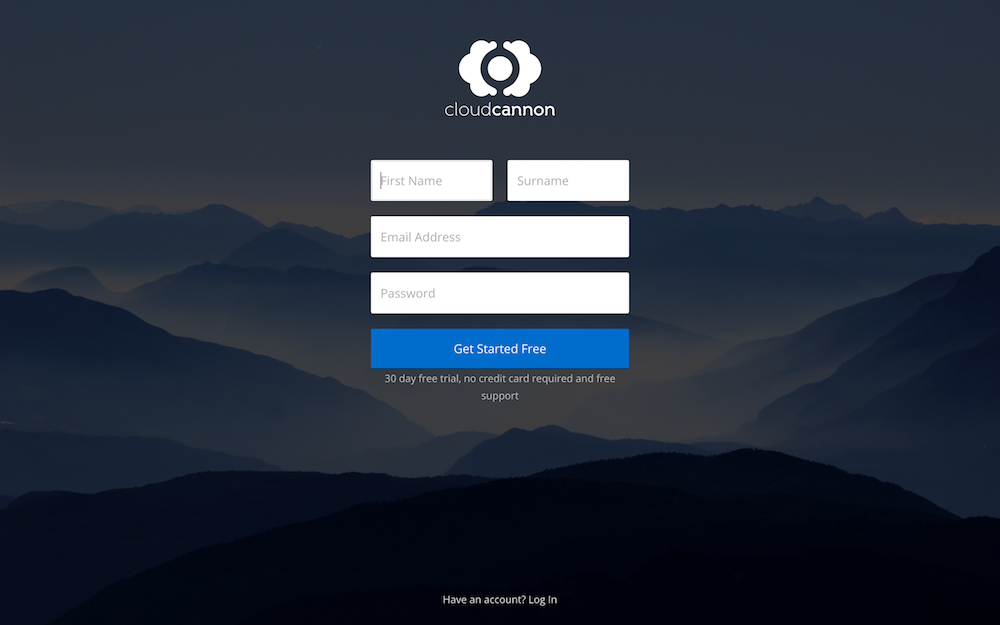
Enter your details into the sign up form:
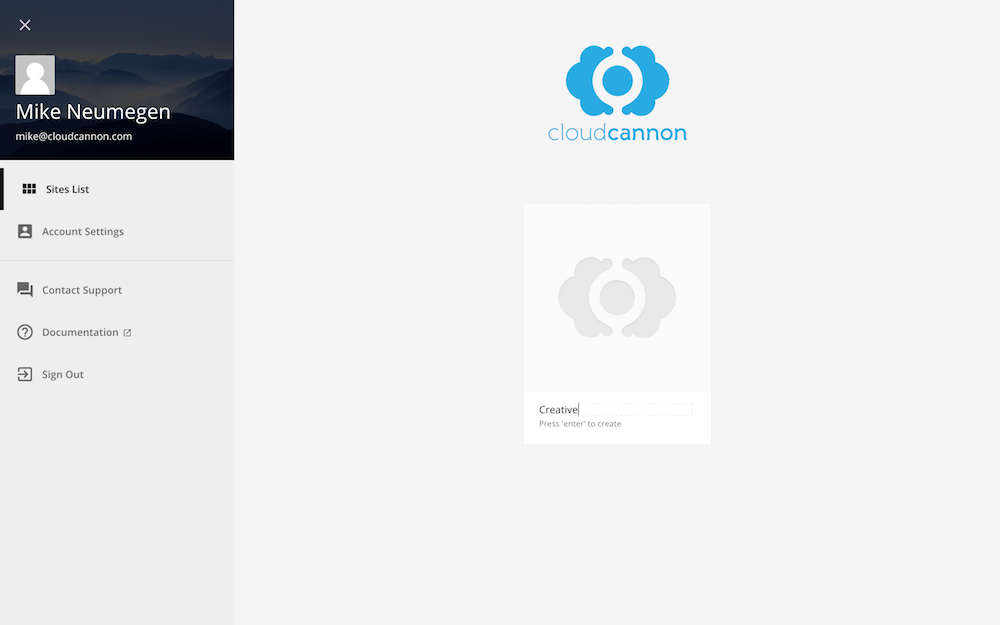
Once we’ve signed up we’re taken to our dashboard. Click Create Site:

Enter a name for the site. I’m going to use the site from the Converting a static site to Jekyll cast so I’ll call it Creative:
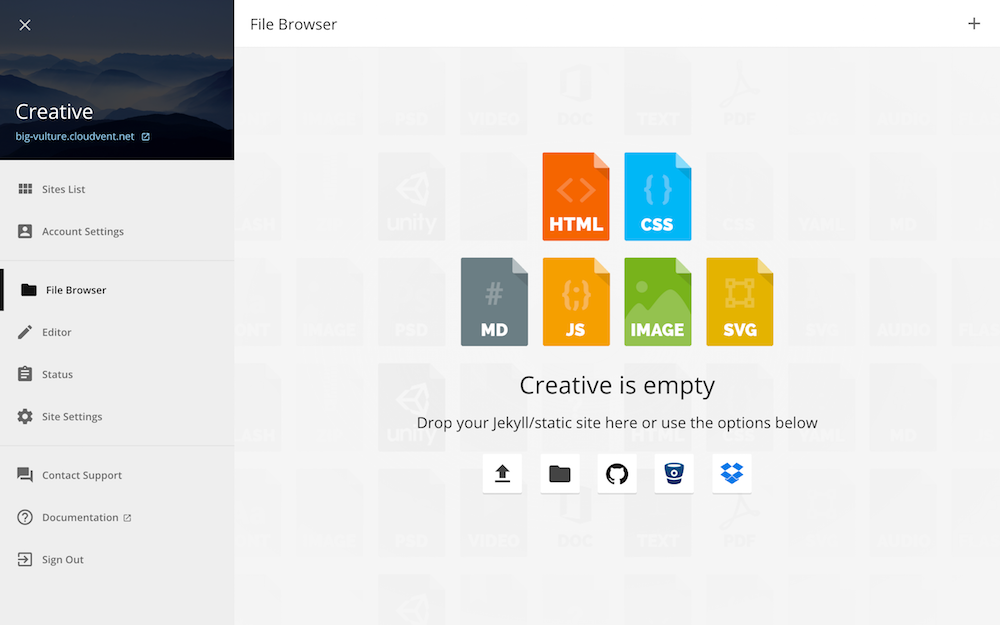
This creates the site and gives us options for uploading our files. If you’d like to use the same site I’m using you can download it here.
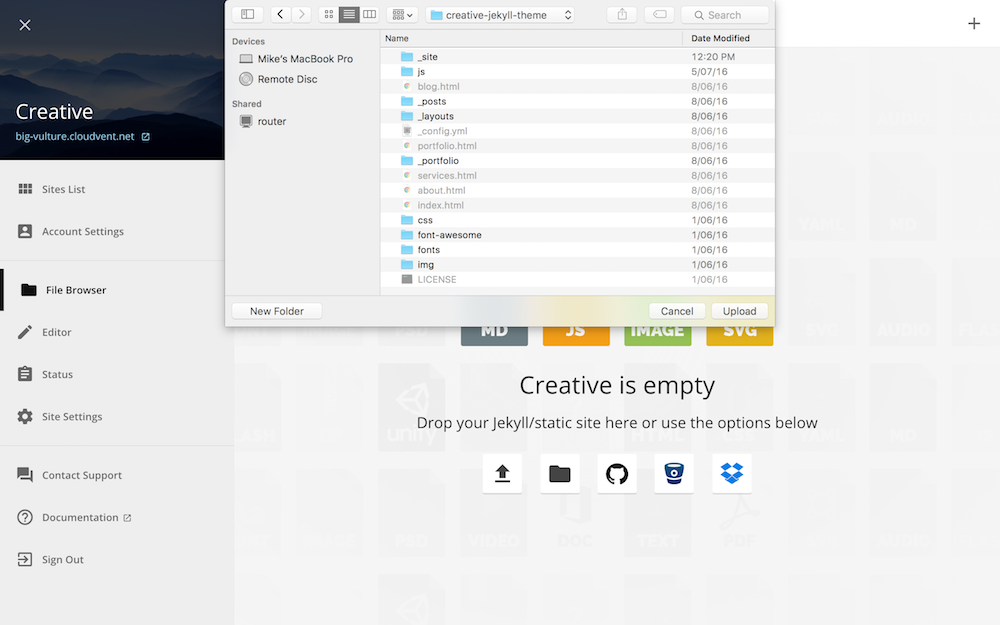
There’s a number of ways of getting your files on CloudCannon. To keep things simple we’re just going to upload a folder from our local computer. Click on the folder icon. Note: folder upload is only supported in Chrome
Navigate to your Jekyll site and click Upload:
Once the files upload, CloudCannon builds the site:
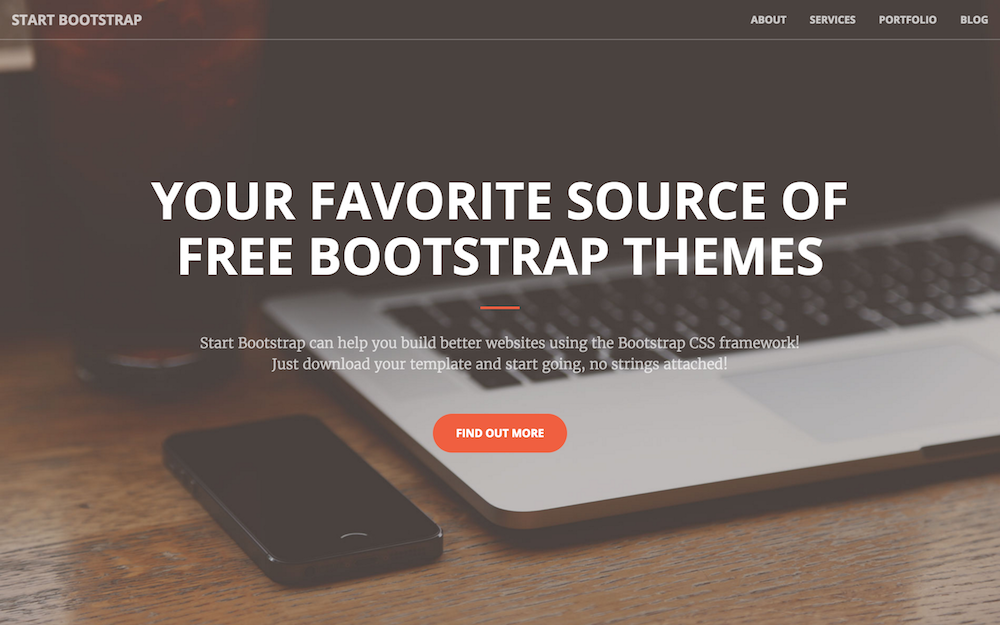
We can view the live site by clicking on the .cloudvent.net URL in the sidebar:
Editables
Next, we need to do is to define areas in our HTML which non-developers can update. These are called Editable Regions and are set by adding a class of editable to HTML elements.
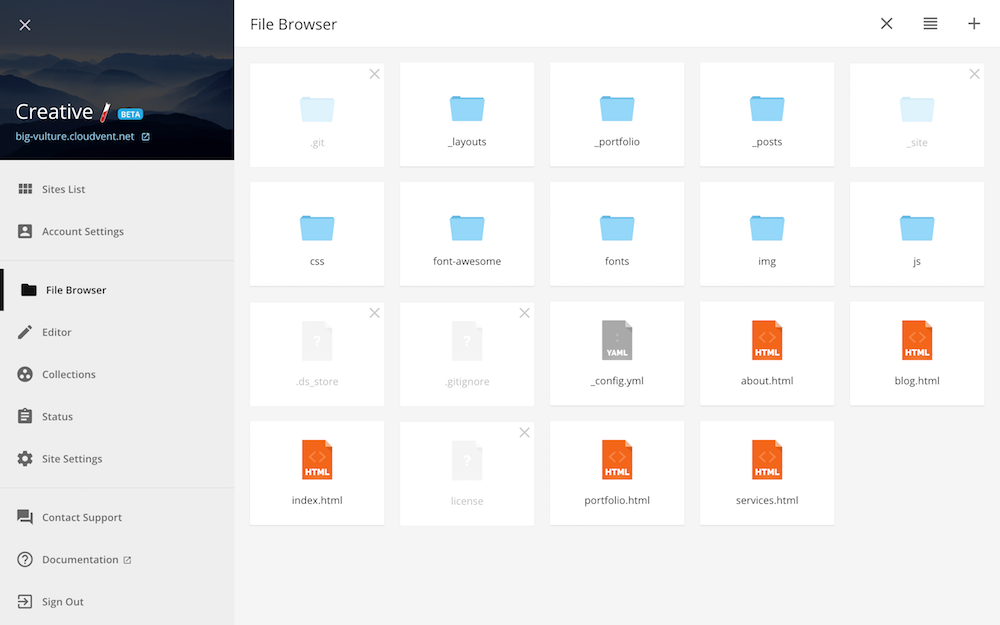
Open index.html in CloudCannon and add a class of editable to the h1 and p inside <div class="header-content-inner"> so it becomes the following:
<div class="header-content-inner">
  <h1 class="editable">Your Favorite Source of Free Bootstrap Themes</h1>
  <hr>
  <p class="editable">Start Bootstrap can help you build better websites using the Bootstrap CSS framework! Just download your template and start going, no strings attached!</p>
  <a href="/about.html" class="btn btn-primary btn-xl page-scroll">Find Out More</a>
</div>
Client Access
Now the site is ready for our non-developer to update. We’ll set up Client Sharing which allows our client to update their site without having to create an account. Go to the Site Settings / Client Sharing section and set a password for your client.
Our non-developer can view their live site at your-site.cloudvent.net (or you can set up a custom domain). To update their site they just add /update to the URL and enter the password we set earlier.
The Client Workflow
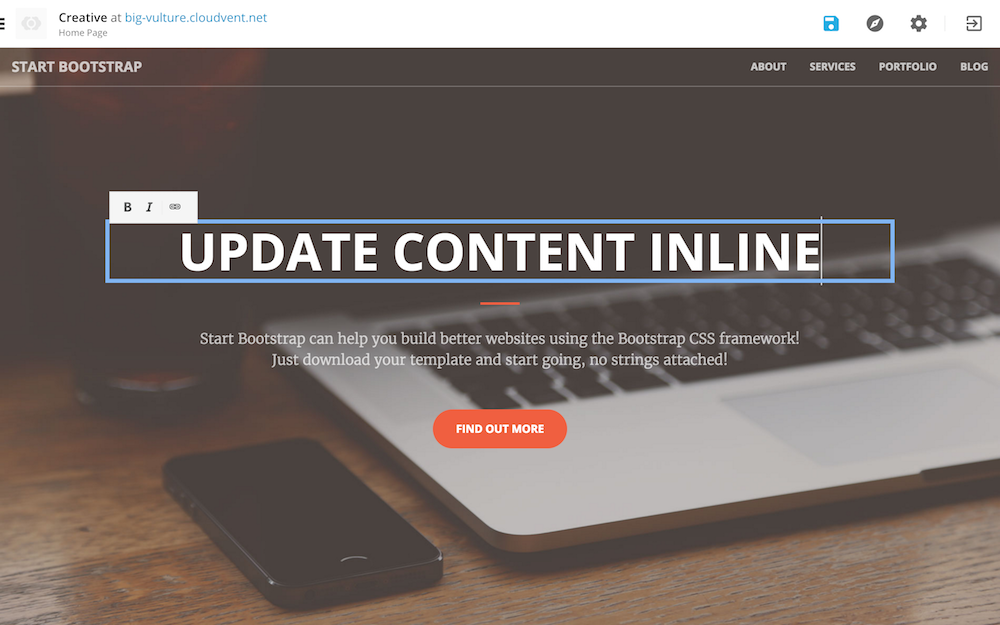
Once the client logs in they see their site with colored boxes highlighting the editable regions. The client can update content directly inline by clicking on text:
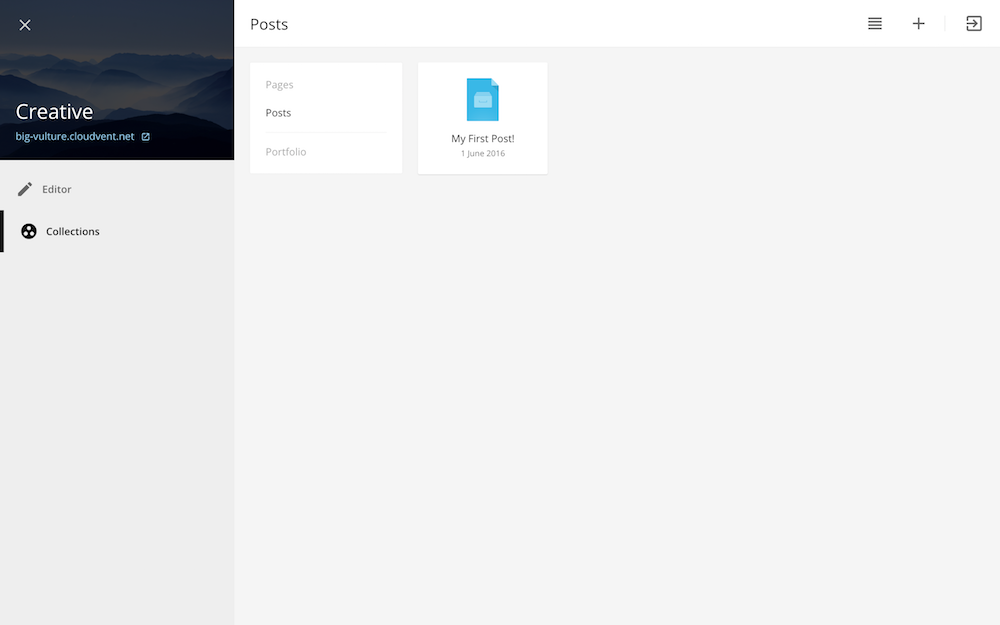
By clicking Collections in the sidebar the client can manage their blog posts:
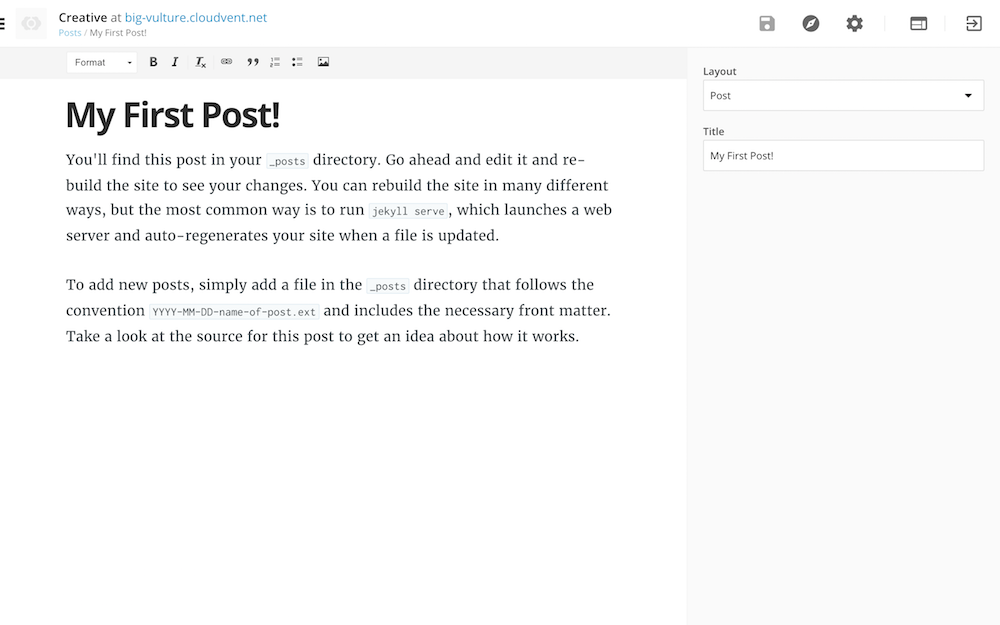
Editing posts happens in the Content Editor which is a rich text editor for Markdown. The client can also manage all the front matter data on the page using an easy-to-use editor:
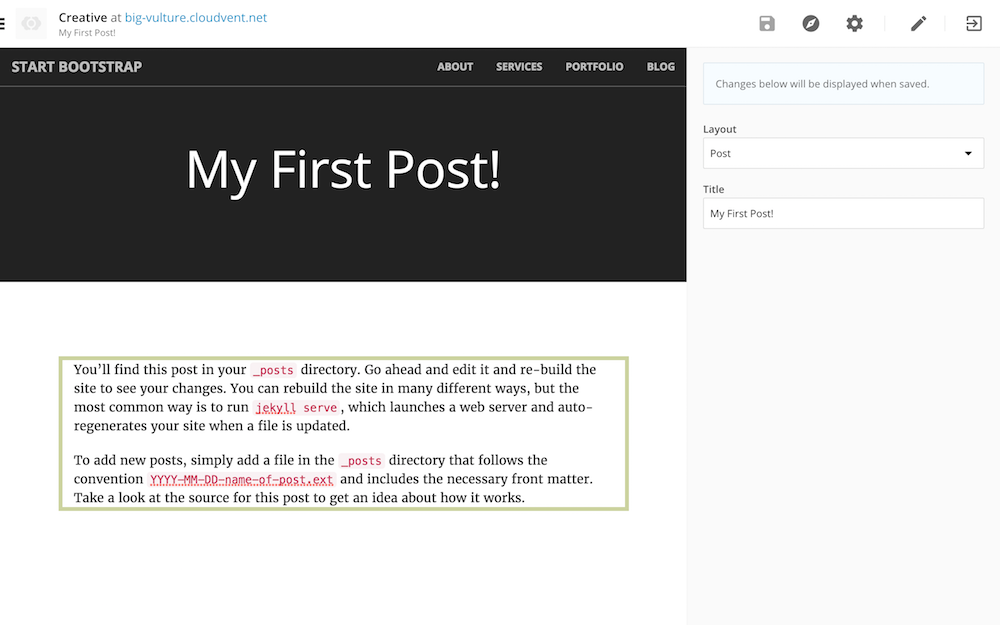
Or we can use the Visual Editor to update posts:
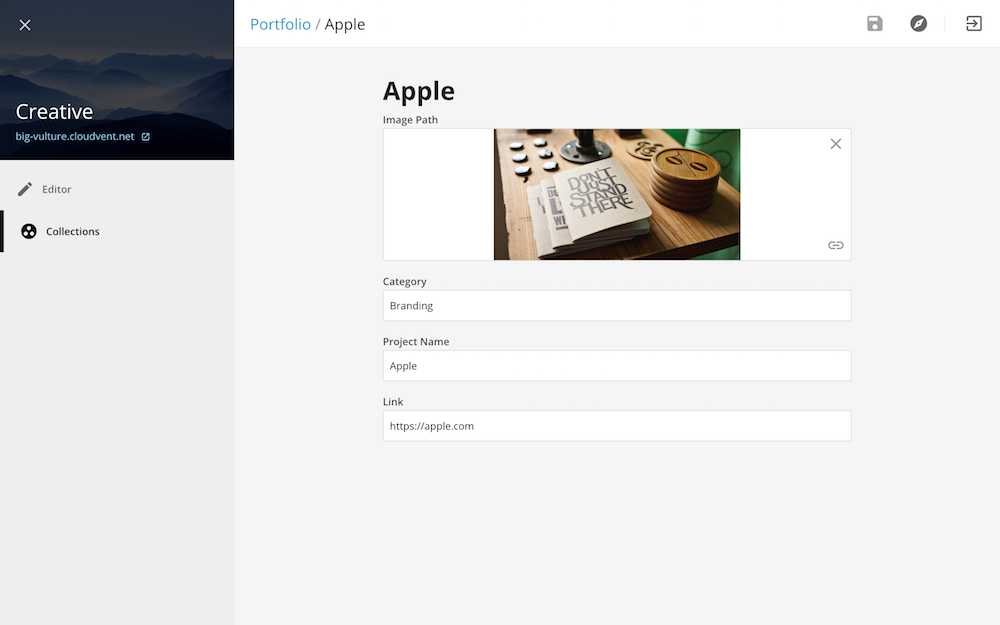
The client can also update collection items using the same editor. In this example there’s no body content and only front matter so we’ve made the front matter editor full screen:
Summary
If we have GitHub, Bitbucket or Dropbox connected to the site, all changes the client makes are pushed back to the storage provider.
Now the client can update all the content and hasn’t had to learn HTML, Liquid or Markdown. This gives a small taste of what you can achieve on CloudCannon. Sign up free and make your Jekyll site client editable.