Introduction
Data files give you access information from CSV, JSON or YAML files on your Jekyll site. You can almost treat these files like a database.
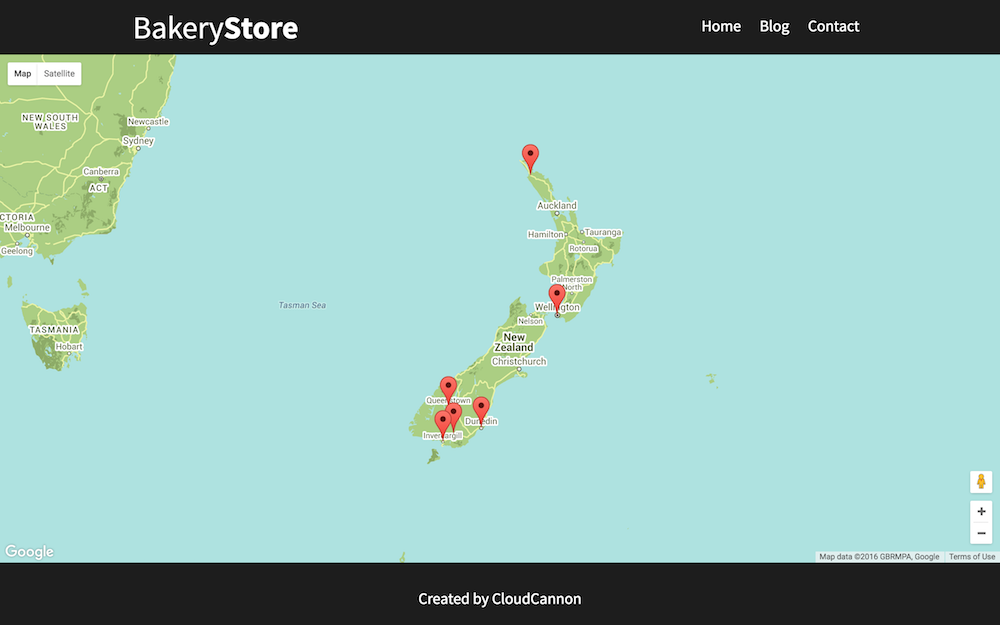
In this example, we have a contact.html page which has a map with all the outlets of fiction Bakery Stores. At the moment there’s one outlet in Wellington but there’s other outlets so we need to add more markers.

The source code for the page is available in the repository. The part we’re interested in is where the markers are added to a JavaScript array:
var markers = [{
  "latitude": -41.286460,
  "longitude": 174.776236,
  "title": "Wellington Outlet"
}];
So how do we add another marker? We could copy this and change the latitude, longitude and title:
var markers = [{
  "latitude": -41.286460,
  "longitude": 174.776236,
  "title": "Wellington Outlet"
}, {
  "latitude": -45.878760,
  "longitude": 170.502798,
  "title": "Dunedin Outlet"
}];
This works but it’s hard to manage as the markers array is amongst other JavaScript. We can do better with Jekyll data files.
Creating a data file
We’ll start by creating a new folder, _data. Inside this we’ll create a file called locations.csv. A CSV file has the first row specifying the titles for the columns then the data is in the subsequent rows. We’ll add the data for all the outlets to our CSV file. If you’re not comfortable editing CSV files using a code editor you can always use a spreadsheet program like Microsoft Excel.
latitude,longitude,name
-45.878760,170.502798,Dunedin Outlet
-41.286460,174.776236,Wellington Outlet
-46.098799,168.945819,Gore Outlet
-46.413187,168.353773,Invercargill Outlet
-35.117330,173.267559,Kaitai Outlet
-45.067944,168.662109,Queenstown Outlet
Using the data
Let’s use this data on contact.html. The data file is available in Jekyll at site.data.locations and we can run this through the jsonify filter to output an array our JavaScript can understand. Now all the outlets are displayed on the map.
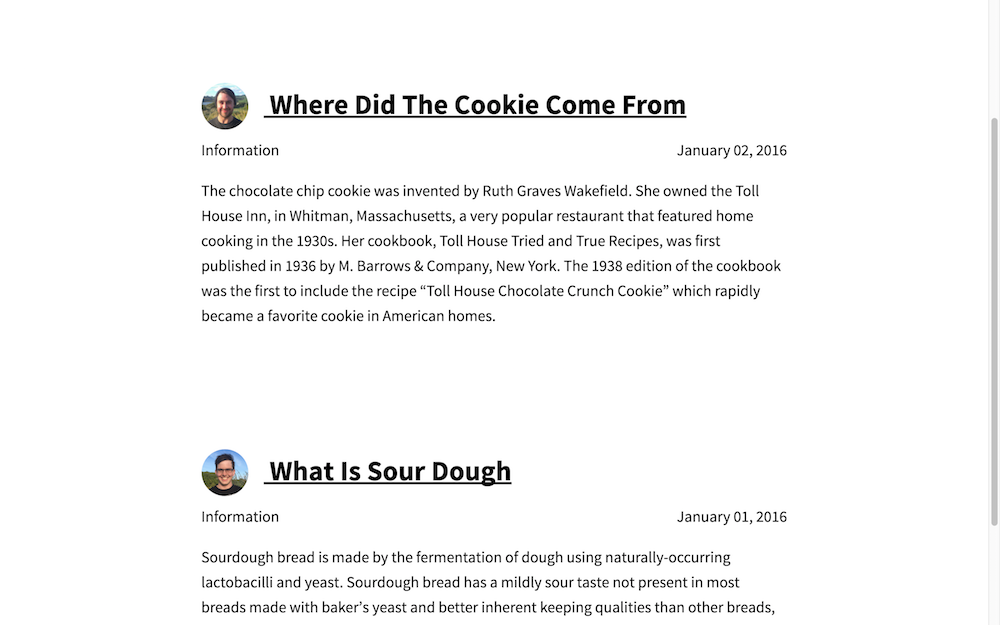
Blog author
In the next example we’ll let’s have a look an image of the post author and a link to their twitter page to blog.html.
We can use data files to store this author metadata. We’ll create authors.json which has a JSON object where the keys are the author’s short name and values are the author’s full name, image path and twitter handle:
{
  "mike": {
    "full_name": "Mike Neumegen",
    "image_path": "/images/mike.jpg",
    "twitter_handle": "mikeneumegen"
  },
  "george": {
    "full_name": "George Phillips",
    "image_path": "/images/george.jpg",
    "twitter_handle": "gphillips_nz"
  }
}
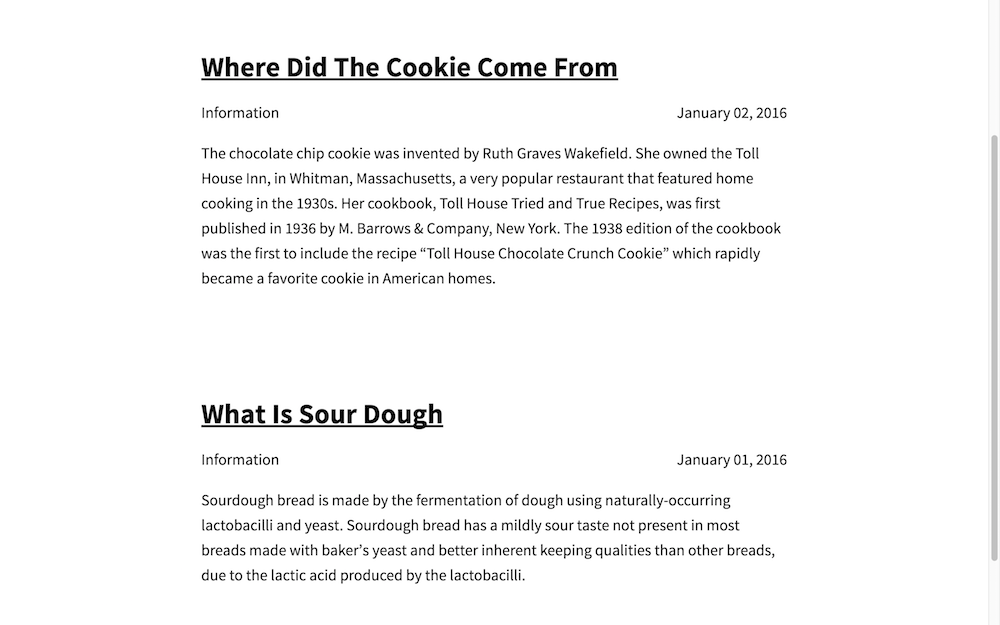
Now we’ll add the author’s short name to the front matter in our posts. So the author of _posts/2016-01-01-what-is-sour-dough.md is george:
---
layout: post
category: Information
author: george
---
...
And the author of _posts/2016-01-02-where-did-the-cookie-come-from.md is mike:
---
layout: post
category: Information
author: mike
---
...
Let’s add the author data to our list of posts on blog.html. We have a for loop which gives us a reference to each post {% for post in site.posts %} , from post we can now get the author’s short name from the front matter using post.author. We can access the authors data file at site.data.authors and combining all of this we can get the current author’s metadata using site.data.authors[post.author]:
...
{% for post in site.posts %}
  <div class="blog-post spacing">
    <h3>
      <a href="http://twitter.com/{{ site.data.authors[post.author].twitter_handle }}">
        <img src="{{ site.data.authors[post.author].image_path }}" alt="{{ site.data.authors[post.author].full_name }}" class="profile" />
      </a>
      <a href="{{ post.url }}">{{ post.title }}</a>
    </h3>
    <p class="summary">
      {{ post.category }}
      <span class="date">
        {{ post.date | date: '%B %d, %Y' }}
      </span>
    </p>
    {{ post.excerpt }}
  </div>
{% endfor %}
...