Overview
Algolia is a hosted search platform you can use on your Jekyll site. They offer high performance search which can be customised to your usecase and even provide a Jekyll plugin to help you index your content. If your site has under 10,000 searches a month you can use Algolia for free.

Setup
- Sign up for an Algolia account.
- Work through the introduction tutorial. It’l give you a good understanding of how to tune your search later on.
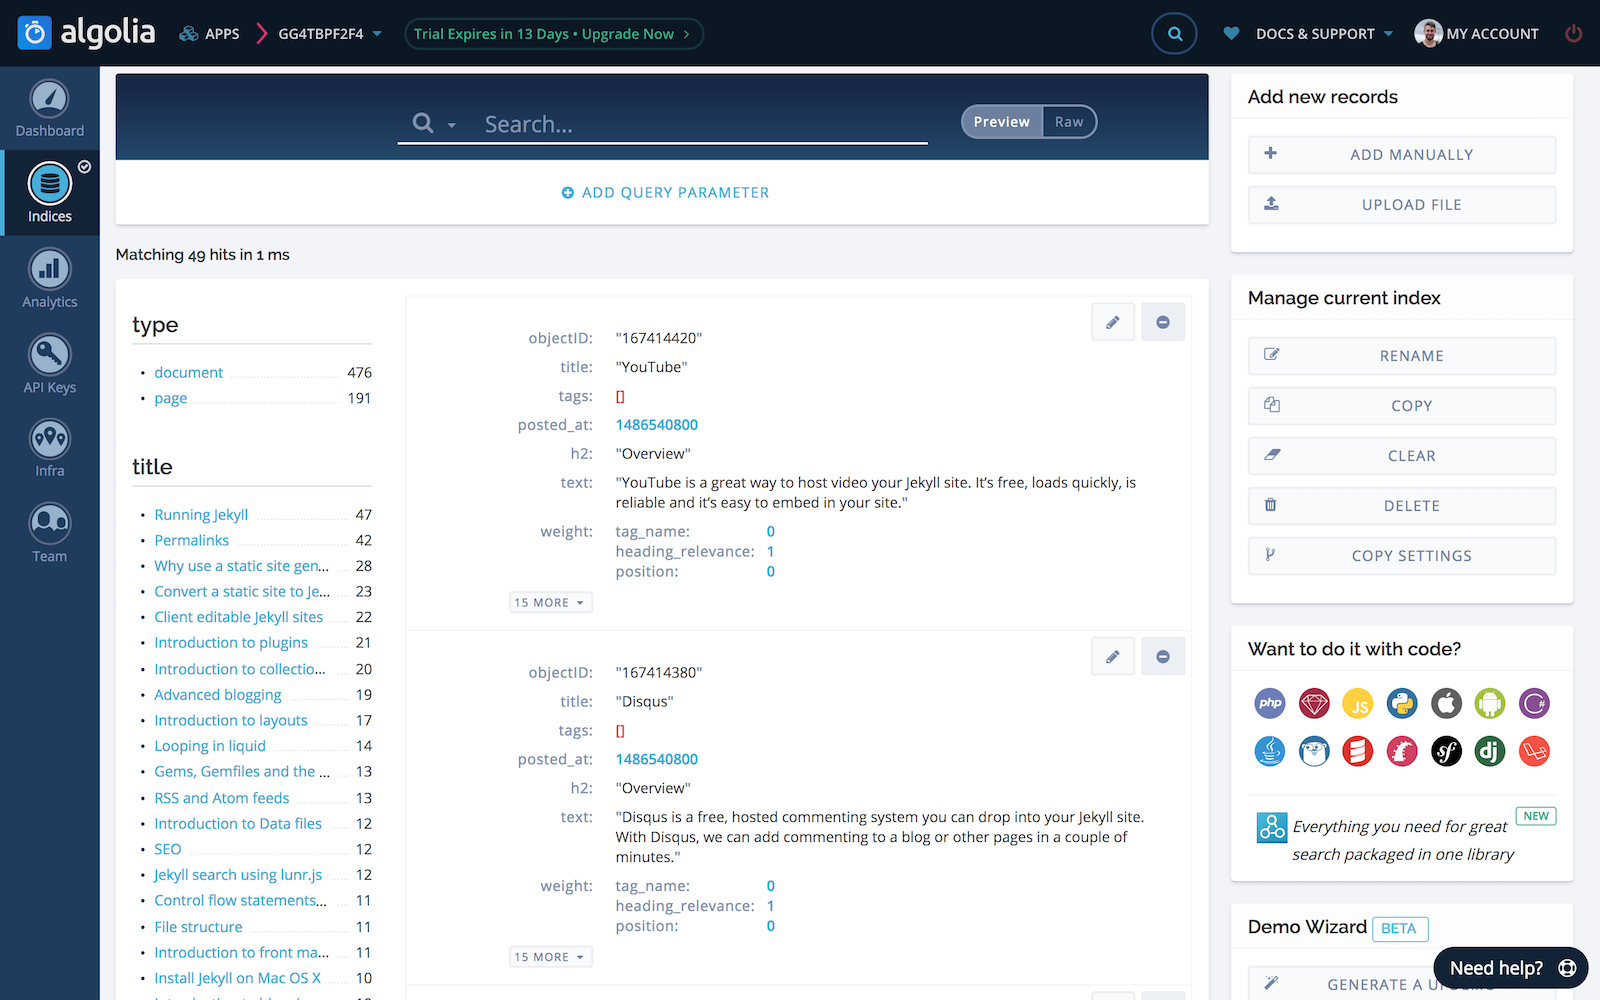
- Create a new index for your Jekyll site
- Go to API Keys and take note of your Application ID and Admin API Key
- Add algoliasearch-jekyll to the jekyll_plugins group in your Gemfile:
source 'https://rubygems.org' gem 'jekyll', '3.3.1' group :jekyll_plugins do gem 'algoliasearch-jekyll' end - Run
bundle install -
Add your algolia Application ID and index name to
_config.yml:algolia: application_id: 'your_application_id' index_name: 'your_index_name' - Set your write key as an environment variable
ALGOLIA_API_KEYor in a file called_algolia_api_key. If you use the file method make sure it’s not checked into a public repository otherwise anyone could add content to your search. For the environment variable you can simply prefix the command with it, for example:
ALGOLIA_API_KEY='YOUR KEY' bundle exec jekyll algolia push
Usage
To generate an index and push it to Algolia you can use the push command.
bundle exec jekyll algolia push
Note: We don’t currently have a way of running this command on CloudCannon. You can get around this by setting up TravisCI as mentioned in their documentation.
Once the data is on Algolia you can use their JavaScript library to perform searches.
Configuration
The plugin allows you to complete configure what pages are index, the content in those pages and index settings. Check out the documentation for more information.