Introduction
In this installation guide we’ll be using Mac OS X 10.11 El Capitan. These instructions should work for older versions of OS X but they have not but tested.
Commands
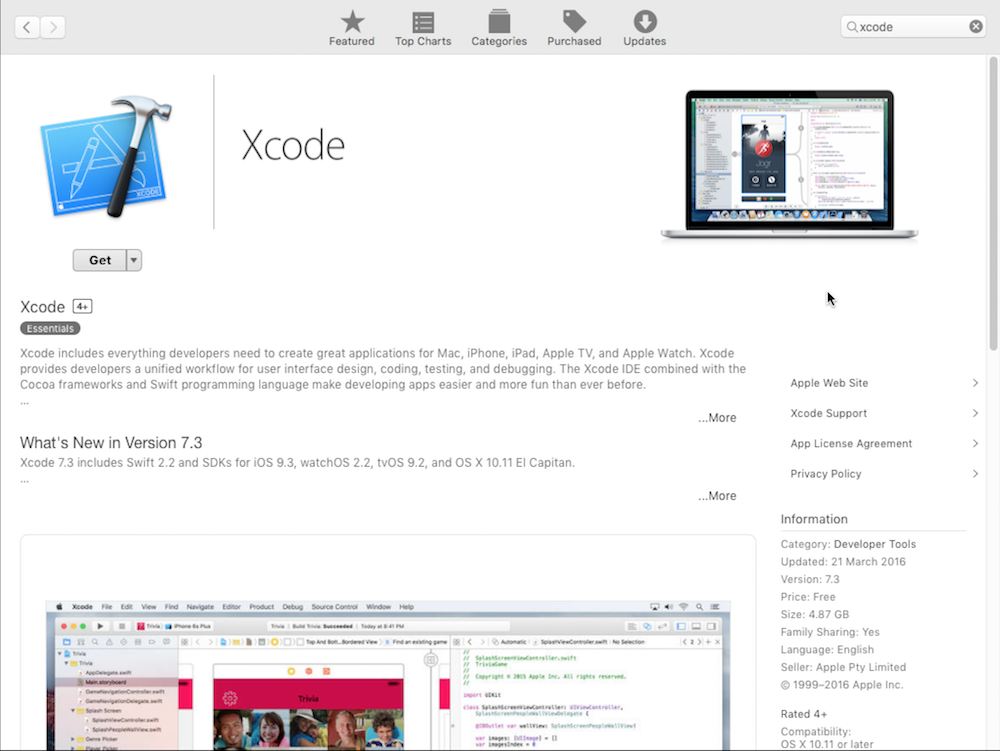
Install Xcode from the AppStore. The download is around 4GB.

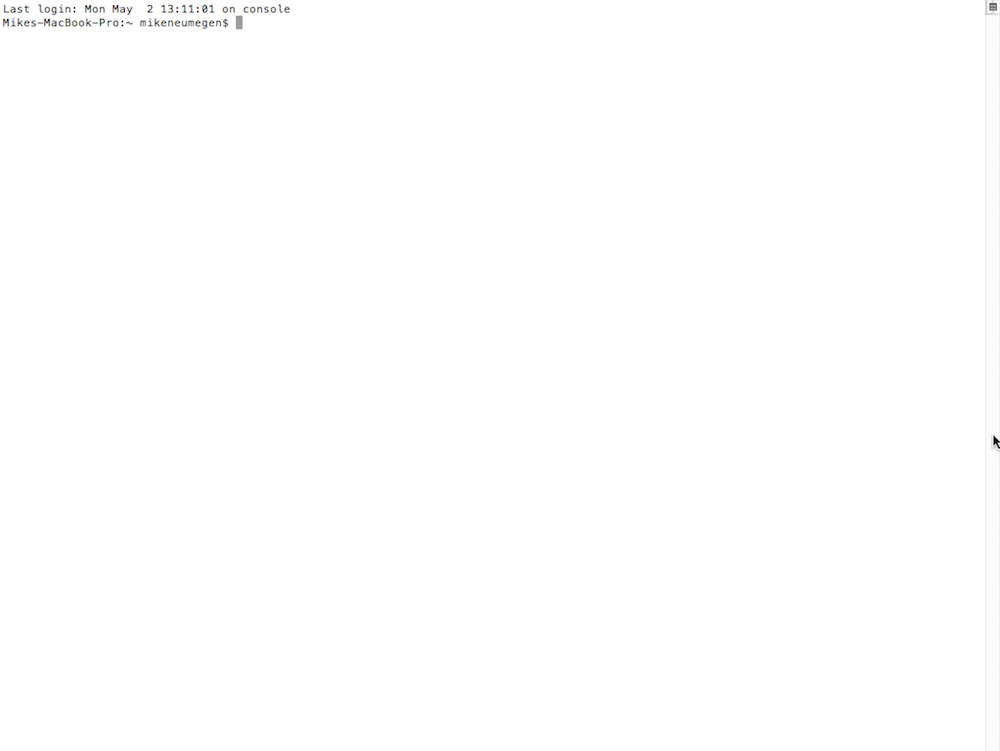
We’ll open up the Terminal which can be found at Applications/Utilities/Terminal. In the Terminal we can run the rest of our installation commands.

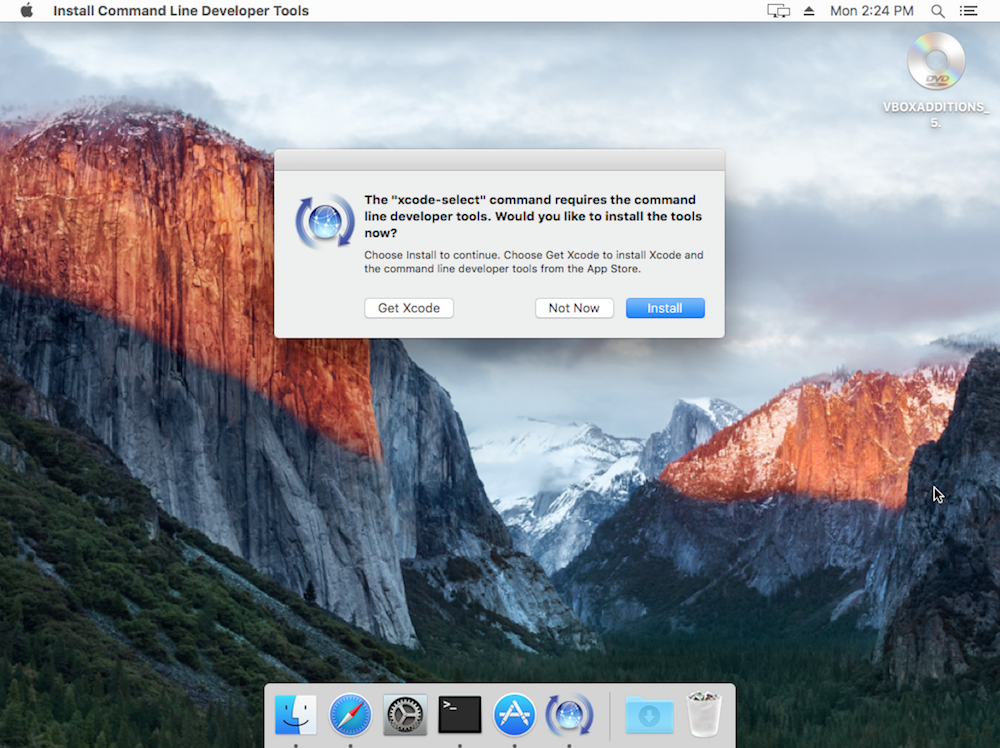
We need to install “Command Line Tools” which gives us access to commonly used tools, utilities, and compilers such as make and GCC:
xcode-select --install

After that we need to agree to Xcode’s license. Either run the command below or open up Xcode which will prompt you to agree to the license:
sudo xcodebuild -license
OS X already has Ruby already installed but it has some quirks that makes installing Jekyll tricky. Instead of using this version, we’ll install our own version of Ruby:
First we’ll install Homebrew. Homebrew helps you install packages and is a must-have for anyone programming on OS X:
/usr/bin/ruby -e "$(curl -fsSL https://raw.githubusercontent.com/Homebrew/install/master/install)"
Now we can install Ruby:
brew install ruby
And install Jekyll:
sudo gem install jekyll
Final check
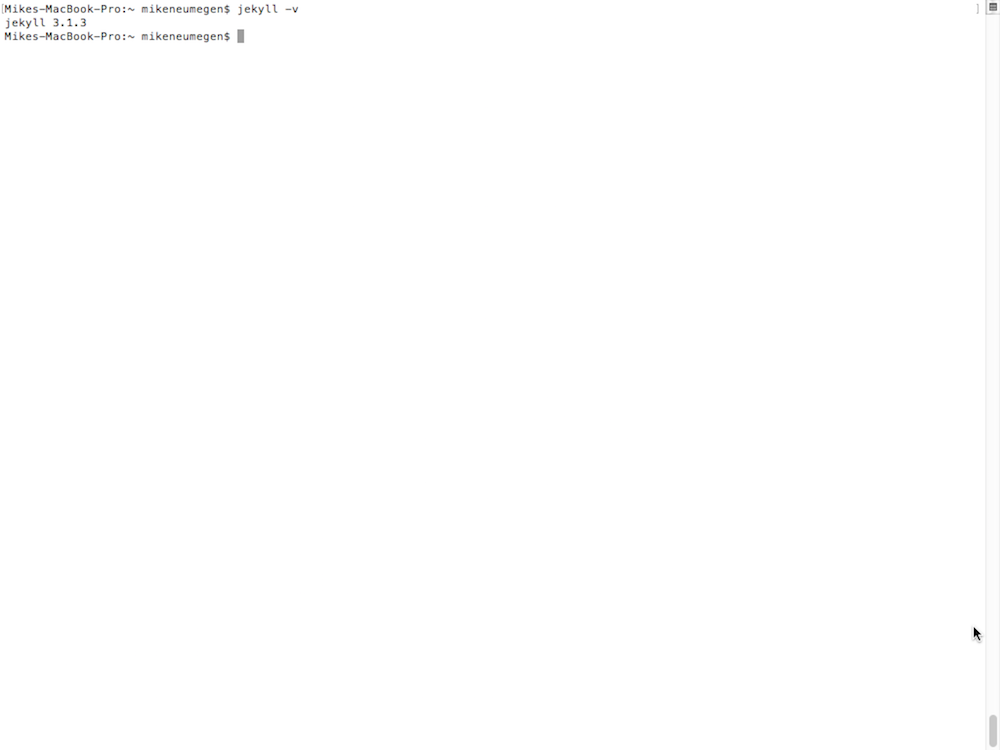
We can test Jekyll is working by checking the version installed:
jekyll -v
