Introduction
There are times when Jekyll simply can’t do something we need it to. Fortunately with Jekyll plugins we can write or download Ruby code to extend Jekyll and do whatever we need.
Jekyll plugins fall into five categories:
Generators
Generators create content on your site. For example:
- jekyll-feed creates an Atom feed of blog posts.
- jekyll-archives creates archive pages for blog categories and tags.
- jekyll-sitemap creates a sitemap.
Converters
Converters change a markup language into another format. For example:
- jekyll-textile-converter converts textile to HTML.
- jekyll-coffeescript converts Coffeescript to JavaScript.
- jekyll-opal converts Ruby to JavaScript.
Commands
Commands extend the jekyll executable with subcommands. For example:
- jekyll-compose adds subcommands for creating a post, page or draft.
Tags
Tags create custom Liquid tags. For example:
- jekyll-youtube embeds a YouTube video.
- jekyll-asset-path-plugin outputs a relative URL for assets.
- jekyll-swfobject embeds a SWF object.
Filters
Filters create custom Liquid filters. For example:
- jekyll-time-ago - The distance between two dates in words.
- jekyll-toc - Generates a table of content.
- jekyll-email-protect - Obfuscates emails to protect them from spam bots.
Hooks
Hooks give fine-grained control over different points in the build process.
How do we install Jekyll plugins?
There are two ways to install Jekyll plugins:
_plugins
This is the easiest method. We simply download a plugin to the _plugins directory on our site.
In this example we’ll add a plugin for calculating an estimated read time of a piece of content. First let’s create _plugins/reading_time.rb and adding the following source code (credit zachleat):
# Outputs the reading time

# Read this in “about 4 minutes”
# Put into your _plugins dir in your Jekyll site
# Usage: Read this in about {{ page.content | reading_time }}

module ReadingTimeFilter
  def reading_time( input )
    words_per_minute = 180

    words = input.split.size;
    minutes = ( words / words_per_minute ).floor
    minutes_label = minutes === 1 ? " minute" : " minutes"
    minutes > 0 ? "about #{minutes} #{minutes_label}" : "less than 1 minute"
  end
end

Liquid::Template.register_filter(ReadingTimeFilter)
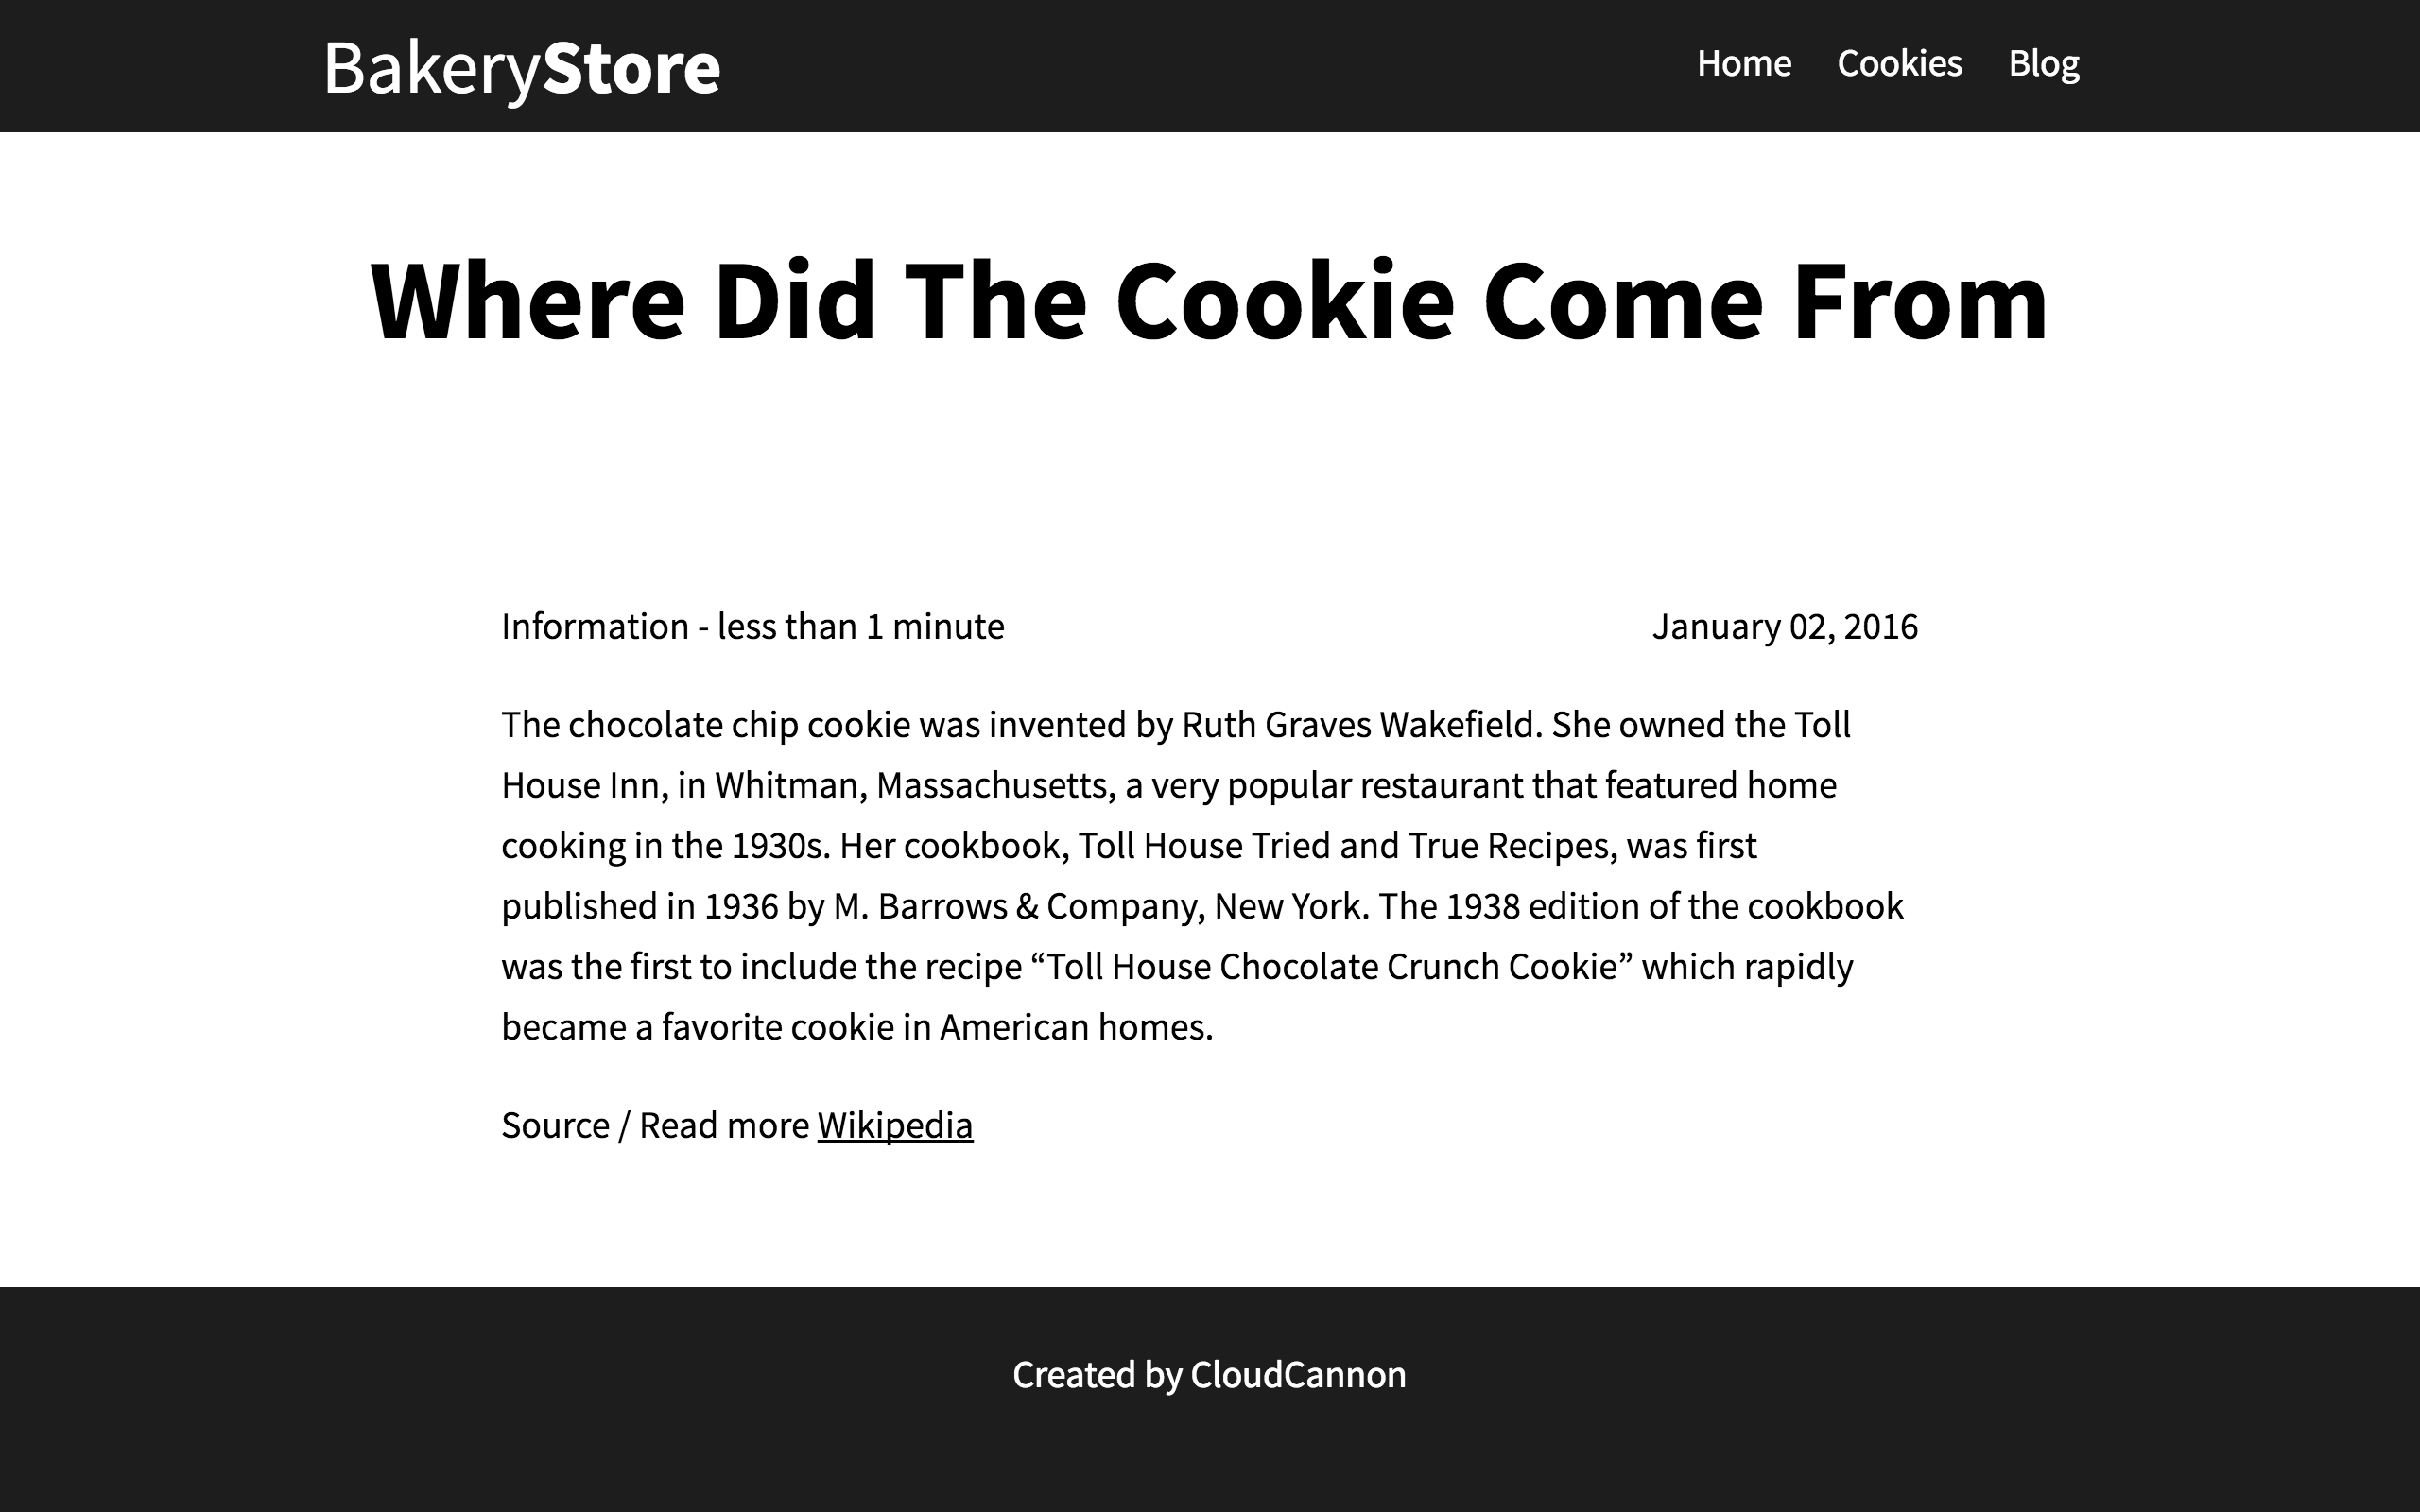
Now we can use this filter using {{ page.content | reading_time }}. On our Bakery Store site I’ve added the filter to _layouts/post.html:
---
layout: default
---
<div class="container">
  <h2 class="spacing">{{ page.title }}</h2>

  <div class="blog-post spacing">
    <p class="summary">{{ page.category }} - {{ content | reading_time }} <span class="date">{{ page.date | date: '%B %d, %Y' }}</span></p>
    {{ content }}
  </div>
</div>

Gemfile
This is more complicated but much better option as it allows you to easily upgrade a plugin in the future. These instructions assume you know what a Gem, Gemfile and the bundler are. If you new to these topics or need a brush up, checkout our Gemfile and the bundler tutorial.
In this example we’ll add the jekyll-feed plugin to our site.
First we’ll create Gemfile with jekyll and jekyll-feed Gems:
source 'https://rubygems.org'

gem 'jekyll', '3.1.6'

group :jekyll_plugins do
  gem 'jekyll-feed'
end
Next let’s install the Gems using the bundler:
bundle install
Now we can add a link to the feed in our <head> using {% feed_meta %}:
...
<head>
  <meta charset="utf-8">
  <title>{{ page.title }}</title>
  <link rel="stylesheet" href="/css/style.css">
  <link rel="stylesheet" href="http://fonts.googleapis.com/css?family=Source+Sans+Pro:200,300,400,700" media="all">
  {% feed_meta %}
</head>
...
And finally we need to run Jekyll using bundle exec:
bundle exec jekyll serve
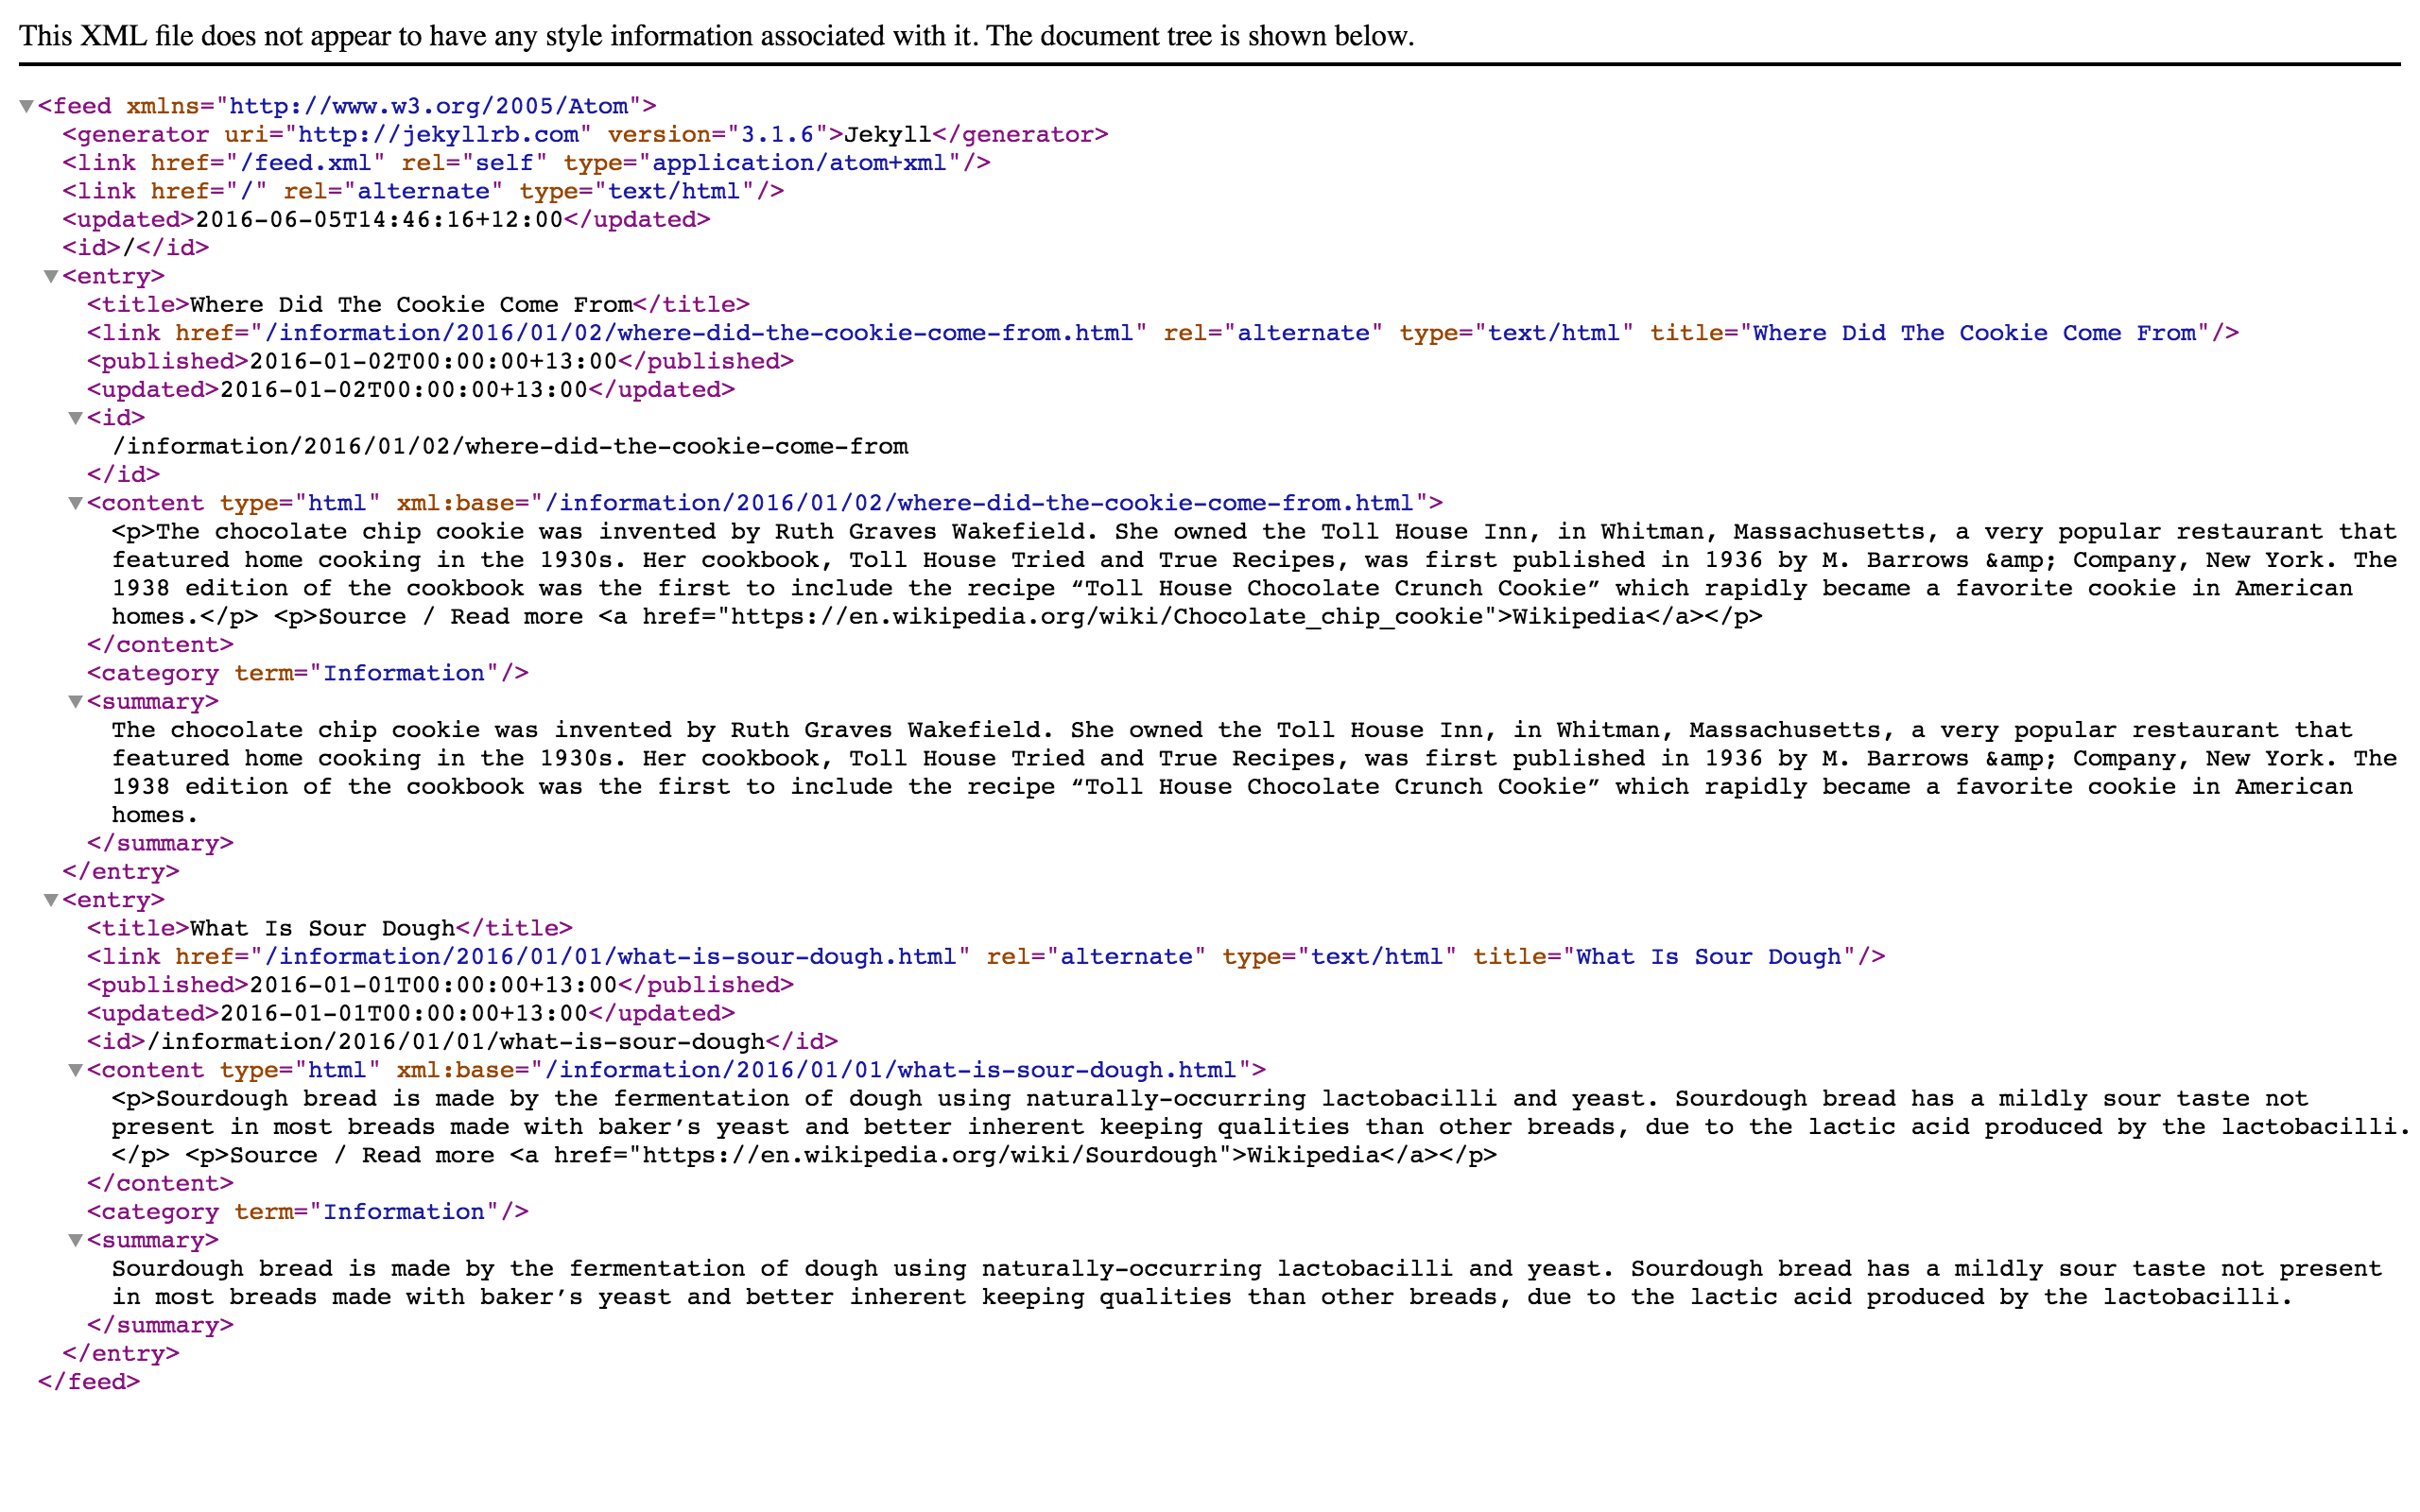
Now our live site has a /feed.xml file with a list of our blog posts.

Where can we find Jekyll plugins?
One of thing to look out for when we’re looking for Jekyll plugins is many of them were made years ago for older versions of Jekyll so they may not work with current versions.
Have a look at the Jekyll GitHub Organization and the plugins page in the Jekyll documentation (note many of these are out of date).